4 Ideas for Halloween in Your Classroom

pumpkins

Halloween falls on a Friday this year and I predict it is going to be a crazy day. Students love to celebrate holidays at school, especially Halloween. Here are some ideas to celebrate Halloween and still get in instruction.

1. Spooky Reading Day

Create excitement and spook by inviting your students to bring flash lights and umbrellas to read under in the dark! Last year, my students read their ghost stories from their literature circles under their umbrellas and used flashlights to illuminate the pages. We had silent and partner reading during this time. It was spooktacular!

IMG_0814

2. Book Character Parade

Kids love to dress up on Halloween. In an effort to keep costumes, gore free and school friendly, host a book character parade throughout your school. Each class or student can dress up as a their favorite book character. One year, I was Fancy Nancy and my students dressed as fancy words of their choice. Not only did it build their vocabulary but, they had an awesome time. Invite parents to join in the fun, too!

IMG_0177

3. Hourly Guest Spooky Reader

Invite a surprise reader every hour (or just once) to come read a halloween story to your class. Give clues to infer who the reader may be before they arrive. I have invited everyone from the superintendent to a room parent. No matter who it is, the kids will be super excited.

IMG_0808

4. Deceased Museum

They don’t call Halloween “The Day of the Dead” for nothing! Have students research a “deceased” person from history. Students will dress as that person and prepare a “wax museum-like” presentation. I did my “Deceased Museum” in the school cafeteria, where I invited the school and parents to come visit our exhibits. This was a great opportunity for students to practice research, reading, and writing skills. As a bonus, they got to dress up on Halloween and have fun. This is George Washington!

IMG_2845

Happy Halloween and teaching!

-Randi Anderson

5 Biggest Time Wasters in the Classroom

Wasting time is not an option when you are a teacher! Scores, growth, data, and the emotional well-being of your students is YOUR responsibility. I use to think before I was a teacher myself, that teaching was going to be stress-free and all smiles. Oh, how I was so wrong. All the while, the rewards of teaching still out weight the stresses. Teachers don’t have a second to waste of instructional time. Here are the top 5 time wasters in the classroom and ways to conquer them.

1. Bathroom Breaks

Yes everyone needs a potty break every now and then. But do we really need to take up a 5 minute block of your schedule in the morning and afternoon to allow everyone to go? NO! Teach students a routine for politely asking to use the restroom, emergency procedures, and knowing the appropriate times to go (not during a lesson). This will give you 10+ extra minutes of instructional time each day.

2. Copying From the Board

I remember loathing the days of copying the board of notes for the weekly lesson. And after all, how effective is copying? Instead of having students waste time copying the board, make them a copy of the class anchor chart. They can then jot down their own notes, doing their own thinking, along the margins. This will help students create their own meaning of the material, while still having the correct verbiage to study and use.

board work

3. Grouping Students

Taking the time to group students right before or after a lesson is time consuming. Grouping students ahead of time can help save some precious minutes of your instructional day. Using the iPad app Make My Groups (it’s FREE) on your classroom iPad or your iphone can help. Enter your class list into the app, select the number you want in each group or the number of groups you desire, press “make groups“, and viola! Groups are made. No more awkward random public selection. It is also motivating and entertaining (technology always is) for the students.

make my groups

4. Getting Supplies Out at the Start of Every New Subject

How many times have you heard this “I don’t know where that is? Hold on while I find it!” Wasting time by trying to locate supplies or getting new supplies out like a math notebook or colored pencils can eat up your lesson time. One strategy I used was making sure I had a list up in the corner of the white board that listed every supply the students would need that day. If we were doing a reader’s response, I would make sure and add that to the list along with a pencil or post-it’s for the lesson. This helped save the time of digging in cubbies or backpacks continuously at the start of each new activity or subject. I also had buckets with Writer’s Notebooks or pencils that were easy to access in the morning. The student’s morning routine was to unpack and gather their supplies needed for the day. There was only one time of the day where they were “hunting and gathering”. This also prepared my students for what was coming up in the lessons that day.

2

5. Teacher Searching for Their Copies

One of the best management strategies I saw while student teaching, was a filing rack and cardboard drawer set used to file the week’s copies by day. I set this up in my classroom and it was my go to place. Not only were my copies or papers ready each day but, I was prepared better because I would make sure and file everything the Friday before the next week’s lessons. I was prepared even if I had to get a sub unexpectedly. I could also just grab the day’s folder or drawer and know that everything I needed was there. Students could also go back to that folder and grab papers they missed while being absent.

IMG_0088

-Randi Anderson

Teaching Writing Genres

IMG_0463

Teaching writing is a challenging task in itself, but throw in genres and conventions, and you have taken expertise to a new level! As a fourth grade teacher I know the struggles of teaching writing first hand. Teaching the difference between writing a personal narrative and imaginary story or an expository piece is tricky. Make students develop knowledge in concrete and visual ways. Create an anchor chart to keep posted and have students can create their own notes about the key points after you have taught the genre. Checklists are easy tools to use as a study guide or reference. I created a checklist for students to keep in their writer’s notebooks as an easy reference tool. To access my checklist. CLICK HERE!

The basics of Personal Narratives

  • It’s a REAL story (no fantasy elements)
  • It’s about YOU!
  • It’s a story (Problem/Solution or Problem/Theme)

The basics of Expository

  • It’s NONFICTION or true, factual information;
  • It’s NOT a story; and
  • It EXPLAINS.

The basics of Imaginary Stories

  • It is a story;
  • It has FANTASY (Not Real);
  • It has CHARACTERS and a SETTING; and
  • It can be about others or yourself

~Happy writing!  Randi

Tips for Starting Guided Reading

After four-to-six weeks of school, small group guided reading really gets going! The purpose of guided reading is to provide closely monitored structured practice of the reading strategies your students need to be successful readers. The guided reading format gives teachers opportunities to observe and coach students as they apply strategies and knowledge of author’s craft.

img_0181-1

Here are a few tips for making your reading groups effective:

  1. Clearly identify the learning target ( i.e. reading strategy and authors craft that you want students to practice). Be sure to use beginning-of-year assessments and observations of the students during reading to determine the learning targets for practice.
  2. Identify students who need this practice. Remember, not every student in your class needs to practice every strategy or skill. Groups membership should be based on need rather than solely reading level.  Some students may already be effectively applying the reading strategy and therefore really don’t need to guided practice.  Some students may be ready to move to a “book club” practice setting rather than guided reading.
  3. Select a text in which the reading strategy will need to be applied. Be respectful of your students’ independent and instructional reading levels as you choose the text. The key to success is making sure students will have success in using the reading strategy or skill.  Remember, the goal of the group is to guided practice of a reading strategy or skill. The desired result of guided reading is that students develop fluency with the learning target in order to read and comprehend other texts across genres.
  4. Let the students do the thinking. Before reading, set your students up for success by helping them activate prior knowledge pose questions to serve as the purpose for reading. During reading, each student should read and process a portion of the text independently. Monitor students as they read and provide prompting if needed.  After reading, have the group return to the pre-reading purpose and questions.  As students discuss what they have read, monitor to see if they are using reading strategies and knowledge of author’s craft to comprehend the text.  You know your guided reading groups are successful when students apply reading strategies and are moving towards autonomy.

Starting off right is key! Remember to go slow with routines and instruction at first, so your students have the time and coaching they need to become strategic readers.

Get a FREE small group planning sheet and example HERE!!!

Practice Matters!

IMG_0060

As I travel around to different districts and schools, I’ve noticed a difference in definition when it comes to shared, guided and independent practice. Having common verbiage and practice is crucial to students’ success.

Students need both guided and independent practice in order to develop as strategic, autonomous learners who can deal with cognitively complex situations. When learning new processes, strategies, and skills, students need frequent structured guided practice. This practice should be closely monitored by the teacher and provide students with feedback as they apply the new understandings and behaviors.

Shared reading (or problem solving) is one way to provide guided practice. In a shared experience, the teacher is thinking with the learners. In the gradual release of responsibility, this is a “We do” or “I do, you help.” The students all process the same content (no differentiation) with the teacher is providing support. The teacher monitors to make sure students understand how and when to apply the strategy or use the skill.

Guided practice should move from shared experiences to multiple guided experiences (e.g. guided reading or guided math) within the first few days/weeks of learning the new process, skill, or strategy. For example, in guided reading, the learners read independently, as the teacher is closely monitors and provides prompts or feedback as needed. Content needs to be differentiated, so that the learner can successfully execute the strategy or skill that is being targeted. In the gradual release of responsibility, this is a “You do” or “You do, I help.” Help is only given if the student struggles. The teacher serves as a coach, giving feedback and prompting if necessary. Most students need 4-5 guided practice sessions in order to comprehend the steps to use in the process, strategy or skill.

After students have developed comprehension of the process, strategy or skill, varied independent practice should be provided over time and the complexity of the situations or texts can be increased so that students need to use the knowledge in a variety of scenarios. Fluency develops as students practice over a relatively long period of time. Bottom line, to really become a strategic, autonomous learner, students must have a lot of practice. Many students fail to develop as strategic readers simply because they didn’t get enough coaching and practice. How will you ensure students get the practice they need? Click here to download a PDF version of the graphic organizer.

Let’s Flip Instruction!

Flipping instruction in any 
subject is easy when you know which tools to use and how to provide students access to lessons that teach critical understandings from the Common Core State Standards.

What is “flipped” instruction?

Explicit instruction is delivered online using a variety of screen recording tools and cloud servers. The teacher records the lesson and posts it to a cloud source that students can easily access. Students (and their parents) watch the lesson for homework.

Slide1

If students do not have access to the internet from home, some teachers “stir” the class instead of “flip.”

Steps for Flipping Lessons:

1. Determine the learning target.

2. Collect or create visuals to use in the lesson. Make an anchor chart on traditional chart paper, so you will be able to post it in your classroom.

google camera


3. Open the app you want to use to record your lesson.

educre

Go to www.educreations.com to set up a teacher account. All lessons are accessed through the Educreations server using a link to the lesson.

Other options:

Google Drive or Dropbox

gdrive  dropbox


Youtube or Youtube Capture

youtube

Imovie

imovie

Create a course and post lessons created with iBooks Author to iTunes. Students access lessons through iTunes University.

iu

4. Record your lesson.

  • Start with a hook or attention getting fact or demonstration.
  • Build the slides by giving one digestible chunk of information per slide.
  • End with a directive for the students. What action do you want students to take as a result of viewing this lesson. In order for the information to be processed, students must immediately do something with it.

Keep the lessons short (Under 5 minutes).

5. Create or copy a link to the lesson.

6. Post the link to Edmodo or to your class website.  Also consider creating a QR codes that students can scan to access the lesson in the cloud.

OR code

-Kelly Harmon

5 Activities for the First Day of School

The first day can be a tricky day of deciding what to do first and how to welcome your new students. Try one of these 5 activities to kick off this school year in a fun way!


1. Create a Class Motto!

T.E.A.M, GO,TEAM, GO! Creating a class motto or chant is a great way to build class pride! Use chart paper to collaboratively write a motto or chant. Then practice chanting as a class. Maybe even add a dance move or two! My class name was the “A Team” (Mrs. Anderson’s class). We took our team name and created an acrostic poem that we chanted each morning!

Team Motto

Team Motto

2. Beach Ball Toss

All you need is a beach ball and a permanent marker. Write silly questions on each color block of the beach ball. Toss the ball all around the room to get to know your students in a new way! Ask questions like, if you were a dog, which breed would you be and why? Be prepared to laugh!

3. Have a Pep Rally!

Yes, start the first day of school with a pep rally! It can be school-wide or just in your classroom. There is no better way to get your students excited about the year than playing loud music and dancing around. Do cheers and chants to create school spirit.

4. Letter for the Last Day

Start with the end in mind! Have students write a letter to themselves to open on the last day of school. Provide students with some ideas of what to include; goals, thoughts, encouraging words, a self portrait, ect. Have students seal up their letters in envelopes and put their name on the front. Take them up and save them for the last day! Students will be amazed at how their writing and thinking has changed in one year of school.

5. Student Facebook Pages

Use a fun FREE printable Facebook template (Click Here!) for students to create their own Facebook pages! Students can show their unique personalities, interests, and family information on their pages. Display them on the bulletin board outside your classroom. Title the board “Scroll Through Our Facebooks!”

Facebook

Facebook


Happy Teaching,

Randi Anderson

Social Media in the Classroom

Social media has become a necessity more than a luxury these days. We find out breaking news, friend’s life events, and tons of new information daily. From Facebook to Instagram, social media floods the world. So why not use this to the educator’s advantage?

Last year I decided to create a class Facebook page for parents to follow our classroom events and news. I created the page before “Meet the Teacher Night” so that parents could “like” my page while bringing their students up to meet me and see their new classroom. This was a huge success!

My Class Facebook Page

My Class Facebook Page

The amount of parent and student communication and support flowing into our classroom from Facebook was astounding! Parents could be at work or home scrolling through their newsfeed and see what their child was learning that day. What better way to say, “We learned today!” I posted anchor charts for homework help, pictures of student work, videos of the students singing during fluency practice, reminders about field trips and picture day, our learning standards of the week, the list goes on and on. To see my class Facebook page CLICK HERE!

Here are the steps I took to create my private class Facebook page!

  1. Create your Facebook Page. I wrote an introduction to the parents and uploaded pictures of my classroom, a classroom ready for students! It was important to me to establish a purpose for the page to let the public know.

My class Facebook page served 3 purposes.

  • Communicate with parents and family members
  • Create a platform for displaying student work
  • Create a writing community where students could respond to class posts
  1. I created a QR code for parents to scan with their smart phones that linked directly to our page. A QR Code is a graphic that scans like a barcode. I used the App OR Code Maker. It is Free! (I love those words) and all you need is the web address to create a graphic. This QR code serves as a quick link that takes the person who scans the code using the QR Code scanner App directly to the website. You will need to download the App QR Code Scanner also. Both Apps are free and easy to use!
OR Code

OR Code

3. At “Meet The Teacher Night” I had the page up on the projector screen, along with the QR Code for parents to use. Parents hit “Like” and the rest was history!

4. Permission Slips- It is very important that educators obtain permission from parents before they post anything! I sent home this permission slip on the first day of school. Click HERE to get it!

Social media is a powerful tool used by major companies and individuals daily. Why not capitalize on this and get parents and students more involved in their learning and classroom activities? Remember to get parent’s permission to post pictures and student work.

Educators can also use Instagram, a social media outlet that is similar to Facebook, but only allows you to post pictures. Instagram also groups pictures together through hashtags. Hashtags can be used to easily see all the pictures people are posting about a topic.

Edmodo is also another option to set up a social media outlet for your classroom or school. Edmodo is an education only site that looks just like Facebook! It is JUST for teachers, parents, and students. Some have called it the “social learning platform”. This may be a great option if you have parents who are unfamiliar with Facebook or Instagram. The teacher does have to be the sole administrator of the page and it requires a username and password for anyone that logs on.

The possibilities of social media in the education world are immeasurable. Imagine where it could take your class!

-Randi Anderson

Classroom Set-Up Must Haves

One of the best things about being a teacher is getting to set-up your classroom for the upcoming school year! (Especially your first year!) Sometimes getting a classroom ready can be an overwhelming task, what with bulletin boards, decor, student seating, storage, a library, and many curriculum subjects to think about.

In the early years of my teaching career, I thought that my room needed to be fully decorated and the walls full before “Meet the Teacher Night”, but as I gained experience and grew wiser, I learned that less is more. So now the year begins with designated areas of learning instead of putting up posters that were pretty to the eye.

I start with a checklist each year before I enter my classroom. I know that need specific areas for learning and storage. These were called my “Must Haves”.

Must Haves

Whole Group Meeting Area:

Every classroom needs a designated area to meet as a class. For me this is my large rug in the front and center of my classroom. The students know that this is where whole group meetings and lessons take place. A rug is useful and a great way for students to recognize the perimeter of where to sit. I also have a rocking chair for me to sit in while reading and speaking. It also serves as an “Authors Chair” so students can share their writing pieces.

Teacher Seat

Teacher Seat

Whole Group

Whole Group

Student Seating:

Personally I prefer tables for students, but most classrooms have desks. Desks work great, too! It’s important to have students sit in group of 3 to 6. I find less than 3 gets boring and more than 6 is a party.

Desk Groups

Desk Groups

Table groups

Table groups

Classroom Library:

This is my favorite area! This areas need to attract students in and get them excited to dig into books! I love to make my library a comfy cozy place to sit and read. Books need to be organized in a way that is easy for students to find books and put them away correctly. I always grouped mine by genres and used the genre posters. You can also include baskets by author or topic. I don’t put books into leveled baskets or mark with AR levels.  I want students to choose books that are right for them depending on their purpose for reading.

4th Grade Classroom Library

4th Grade Classroom Library

IMG_0120

3rd Grade Library

3rd Grade Library

2nd Grade Library

2nd Grade Library

Small Group Meeting Area:

A small group area is very important. I use a small rectangular or kidney table. Students can sit on chairs, exercise balls, or crates. There only needs to be 3 to 5 seats. I also have a small dry erase boards and my computer close by to hold focus lessons and practice materials for each group.

Small Group Area

Small Group Area

Technology Area:

Designate an area in the classroom for students to use computers or tablets. Make sure to post expectations and and charging equipment needs.

Technology Area

Technology Area

Subject Focus Areas:

Focus walls are an important aid in classroom instruction. I have reading, writing, and spelling focus walls in my classroom. This is where I post standards or strategies we are currently working on. Anchor charts, student work samples, and notebooks are also stored here. It is important to remember that the content on these walls is ever changing because what you are teaching changes weekly and monthly. Make sure to have the students take ownership of these walls by making it easy for them to add information or work samples themselves.

Reading Focus Wall

Reading Focus Wall

Writer's Workshop wall before Anchor Charts

Writer’s Workshop wall before Anchor Charts

Science Wall waiting for anchor charts and student work.

Science Wall waiting for anchor charts and student work.

CAFE Board

CAFE Board

Classroom Management Station:

Every classroom needs a management station. This is where you have your lunch count, attendance, jobs, and outside the classroom passes. It is helpful to post this area close to your classroom door so that students can walk in and take care of their daily business first thing.

Check-in Table by the Door

Check-in Table by the Door

Teacher Workspace:

I am not a fan of a big teacher desk that takes up a lot of space. A small table with your computer, lesson plans, screen camera, supplies, and a few pictures is all you really need. Let’s be honest, do teachers really spend much time during the day at their desk? No, we are all over the place! My desk was small and located behind my small group kidney table. It was easy for me to pull things up on my computer for my small groups to see. Now that almost everything is stored on our hard drives, the need for drawers of papers and shelves of books is no more.

Teacher Desk is small and at the back!

Teacher Desk is small and at the back!

A few extra ideas to consider:

  • Learning goals and targets-Where will these be posted so that you and your students can refer to them easily?
  • Student storage
  • A class schedule posted
  • A shelf of the teacher’s “Golden Books”- The teacher picks their favorite books and puts them on display!
  • A word wall for important words.  You may have a word wall for high frequency words, as well as content area words.
  • Book Club/ Literature Circle Storage
  • Centers or Stations Board-I call this the “Work Choices” board.
  • Center storage- This could be baskets, pocket charts, etc.
  • Strategy board-This is where we post strategies to practice.
  • Student Work Display- This can be on a hallway bulletin board or by hanging string from the ceiling and clothes pinning work to the line.
Class Schedule Posted

Class Schedule Posted

To use my checklist to plan your classroom set-up, click here! Happy planning teachers!

~Randi and Kelly

Using Mentor Texts To Teach Author’s Craft

 IMG_0651.JPG

Quick! Grab your favorite book.  It doesn’t matter what kind of book it is-it just needs to be your favorite.  Now think about why it is your favorite.  Is it the language that you love?  Do words roll off your tongue?  Do you want to read them again and again?  Is it a connection you feel to the main character?  Does the author teach an important lesson for living?  What exactly draws you to this text?

Now that you’ve established your first mentor text, think about all of the curriculum possibilities.  Mentor texts are books that students can revisit over and over throughout the year for many purposes.  As the text is explored, the students develop a relationship with the text and the author.   In fact, the author becomes a familiar friend, always there to provide a model that can be imitated.  This is exactly how we learn to write.

Writers borrow or harvest ideas from other writers.  Maya Angelou did this in her book I Know Why The Caged Bird Sings.  The title of her autobiography came from Paul Laurence Dunbar’s poem Sympathy.   I didn’t realize this until years after reading the first text.  I’ve since gone back and compared the two texts for a deeper understanding of both author’s message.  This is a powerful example of how writing and reading cannot be taught as separate subjects.  Writers read with a careful eye towards the author’s message and how the author communicates the message.

In writing workshop, young writers examine the technique the master author is using and discuss the impact of the technique on the overall writing.  During shared or guided writing, students have time to practice the technique together and compare it to the original text. As the students develop understanding of the technique, they need time and coaching to experiment with the technique in his/her own writing.  This process usually takes time, at least three to five writing workshop sessions, before students are ready to store the target technique in their writer’s toolbox.  The desired result of this type of writing instruction is to enable the young writer to be strategic as they write texts of all genres.  Through showing, discussing, and experimenting, young writers develop the expertise needed to master the craft and conventions of writing.

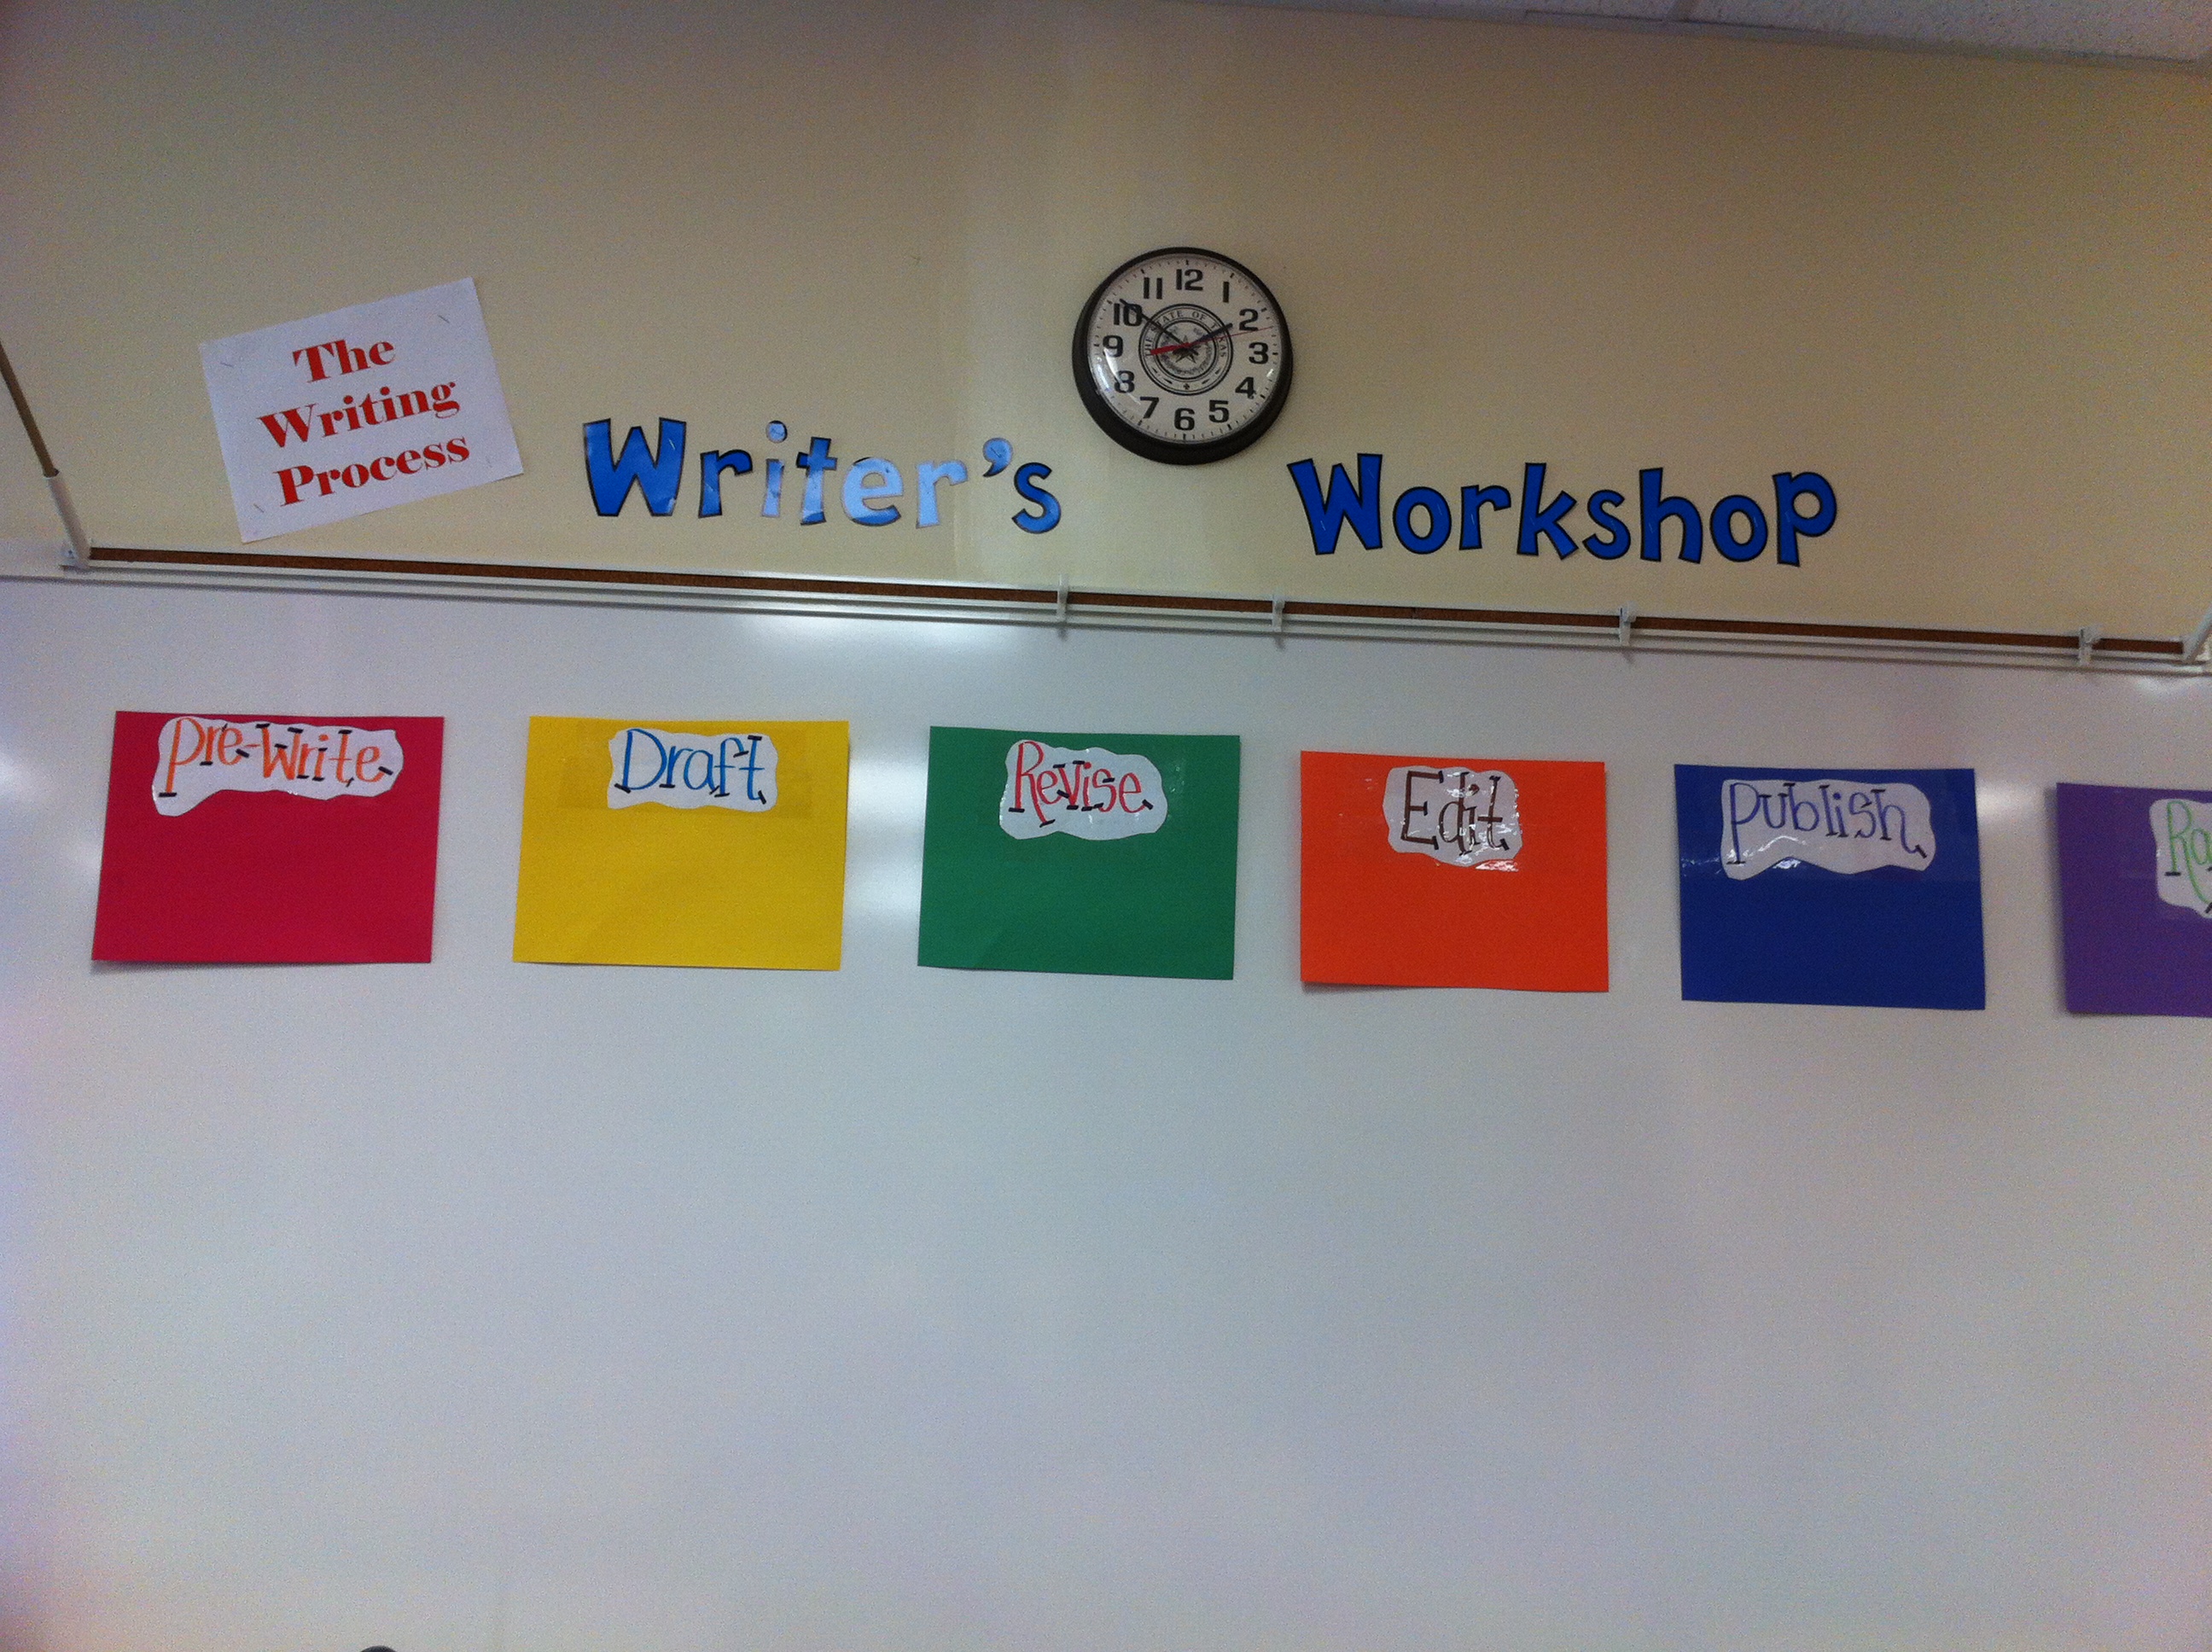
Here is a structure you can use as you develop focused lessons for writing workshop:

Preparation:  Select a mentor text and a writing technique you want your students to understand and use.

Day 1:  Engage the students in the read aloud (or reread) the mentor text. Direct the students to the author’s use of the targeted technique. Guide or ask students to notice the features of the technique.  Create an anchor chart for the technique. Model how to use this technique as you think aloud. Reflect on the use of the technique.  How does this technique improve the writing?

Day 2: Review the use the technique and refer to the anchor chart. You may add to the anchor chart if that is appropriate. In shared or guided writing, have the students experiment with using the technique. Brainstorm and compose together. Reflect on the writing.  How does the technique impact the writing?

Day 3:  Group students to work together to use the technique.  Circulate throughout the class, asking questions and providing specific feedback.  Some groups may need to be reminded to refer back to the mentor text and/or anchor chart. Have students share their writing with other groups.  Be sure students give reflective feedback.  How does use of the technique help the audience understand or see the authors’ message?

Day 4 (and beyond): Ask students to incorporate the technique into their independent writing.  While conferring with students, be sure to notice and celebrate when the student tries out the technique.  Ask students to reflect on how the technique improves their writing and their audiences’ understanding of the writing.  Give specific feedback that moves the writer forward and helps them see how the technique can be used in many types of writing.


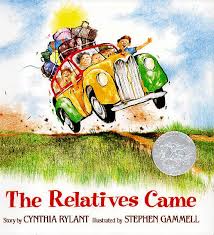
Here is an example of 4 lessons using the mentor text The Relative Came by Cynthia Rylant. Image The Relatives Came By Cynthia Rylant Illustrated by Stephen Gammell ISBN:  0-6-71738-5

Summary: The relatives come to visit from Virginia and everyone has a wonderful time.

What’s to love in this book:  Word choice is simple and very clever.  The pacing of the three main events gives the reader just enough details so that everyone can make a personal connection.

Teaching Points: 

  1. Organization of a narrative
  2. Beginning a narrative with description
  3. Ending a narrative by circling back
  4. Word choice

Teaching Point 1:  Organization of a narrative This mentor text should be read aloud to students and processed for reading comprehension.  After reading the book aloud to students, ask students to draw or sketch the beginning, middle, and end of the story.  Discuss how this story describes each main event telling what the characters did and what they were thinking. Key questions to ask after reading:

  1. What happened at the beginning?
  2. What happened in the middle?
  3. What happened in the end?
  4. What does the Cynthia Rylant want us to understand during each part of the story?
  5. What do you notice about the beginning and the ending?

 Day 1: Review:  What is a narrative?  A narrative tells a story about an experience or time that includes characters, setting, and main events.

Focus Lesson: Authors organize, or structure, their writing so that the reader has a road map to follow and doesn’t get lost.  The beginning takes the reader forward and the ending takes the reader back.  In the middle, the author takes us into the experience of relatives who come to visit and stay and stay and stay. Beginning:  Relatives drive for many hours looking at strange new places and thinking of Virginia and eating their ice chest full of food.  Middle:  The relatives hug, eat, fix things, and sleep many nights.   Ending:  The relatives drive for many hours back to Virginia.

Write: Try out the organizational format.

Here is my example:  Beginning:  I traveled with my family for many hours on an airplane and through three airports to get to Hawaii.  Middle:  We sunned, swam, ate, climbed, and slept for 7 nights in a strange hotel bed.  Ending:  We flew many hours back through 3 airports to get back home to our own comfortable bed.

Reflection questions: 

  1. How is my narrative similar to Cynthia Rylant’s?
  2. How is my narrative different from Mrs. Rylant’s?
  3. How does borrowing the way she organized her narrative help me to organize my narrative?

Day 2:  Shared Writing Focus Lesson:  Create an anchor chart to guide the writing.  Review the main events from the mentor text.

Write:  Brainstorm a class list of places the class has gone together.  (Lunch, recess, field trip, music class) Using the structure from The Relatives Came, write the outline for the structure of the class story.

Reflections:  How does using this structure help the writer organize the story?  Why is it important for the writer to organize the story for the reader?

Day 3:  Guided Writing Focus Lesson:  Review the anchor chart.

Write: Have students work in pairs or alone.  Choose one of the places from the brainstorm list and outline the structure of the story.

Reflections:  Ask students to share their writing with the class. Ask the class to compare the writing to the structure Cynthia Rylant uses in the story.  How is the structure the same?  What is different?  (The topic) Could your reader draw a map to show where the main events have taken place?

Day 4 and beyond:  Independent Writing Focus Lesson:  Review the structure of a narrative.  Ask students how they plan to use this structure to write their own story.

Write:  Have students brainstorm places they have gone.  Invite students to select one of the places and create outline of the story.

Reflections:  Ask students to share their writing with the class. Ask the class to compare the writing to the structure Cynthia Rylant uses in the story.  How is the structure the same?  What is different?  (The topic)

For 12 more lessons, Click HERE to visit our Teachers Pay Teachers Store.

To read more on the use of mentor texts, check out Mentor Texts, Teaching Writing Through Children’s Literature, K-6, by Lynne R. Dorfman and Rose Cappelli.